Several years ago, when I first began photographing feathers, I tried some software called Helicon Focus. It was good, and I used it for a while, then switched to another program. Time passed, and I don’t even remember why I first switched. But I was successfully using the other software and Photoshop to stack my images. Recently, however, I was preparing to be a guest lecturer for a college class to demonstrate focus stacking, and it seemed only fair that I should take another look at Helicon Focus.
I am incredibly impressed with how much Helicon Focus has improved since I first used it. Of course, it retains the ability to use your camera raw files (no need to convert to TIF or jpg). Think about the time savings in that. What if you’re shooting with one of the 50+ megapixel cameras? You would shoot a stack of, say, 20 images and then have to convert them all to TIF before you can import them into your chosen focus stacking program. Yikes. Being able to drop in your raw images makes life easier and gets you faster into the work of making the “real” image.
In this instance, I started with Helicon Remote. My camera was tethered to the computer, letting Remote do the driving. This isn’t a macro setup (1:1), so I could use the camera’s focusing mechanism. I understand that even if I were using my Canon MP-E macro lens (a wonderful macro-only lens with no autofocus), Helicon Remote can control motorized macro rails. That’s pretty intense. I don’t have a motorized setup, so I couldn’t test this feature. My use of Helicon Remote is discussed in the video at the bottom of the page; I won’t linger on it here. Perhaps another time. Instead, let’s get the images into Helicon Focus where the main work is done. The software tells you in big letters across the screen how to get your images into the program. I tend to call this a ‘bin’ after video editing software.
The one problem I had using the raw images straight from the camera is that at one point, I had the camera off level (a “Dutch angle,” for those familiar with the term), and because the camera was somewhere between horizontal and vertical I got the occasional vertical image when all others were horizontal. This caused a problem in Helicon, resulting in a prolonged wait and ending with an ‘error 5’ message on the screen. Helicon Focus couldn’t tell the difference between horizontal and vertical, it only knew the sizes didn’t match. I didn’t see the issue until I happened to notice where in the stack the error occurred. It was easily resolved once I realized what the problem was. I just opened the files in Adobe Bridge and rotated the offenders. Once back in Helicon Focus, the stack ran smoothly. I admit this is something I should have been looking out for. I only wish the program could give a warning if the sizes of the images in the stack don’t match. Then I would know to look down the stack to find the troublesome one. Probably with a more refined working method this wouldn’t be an issue at all. In actually, it probably will never be an issue for the vast majority of users, but it’s part of my job to be troublesome. . . .
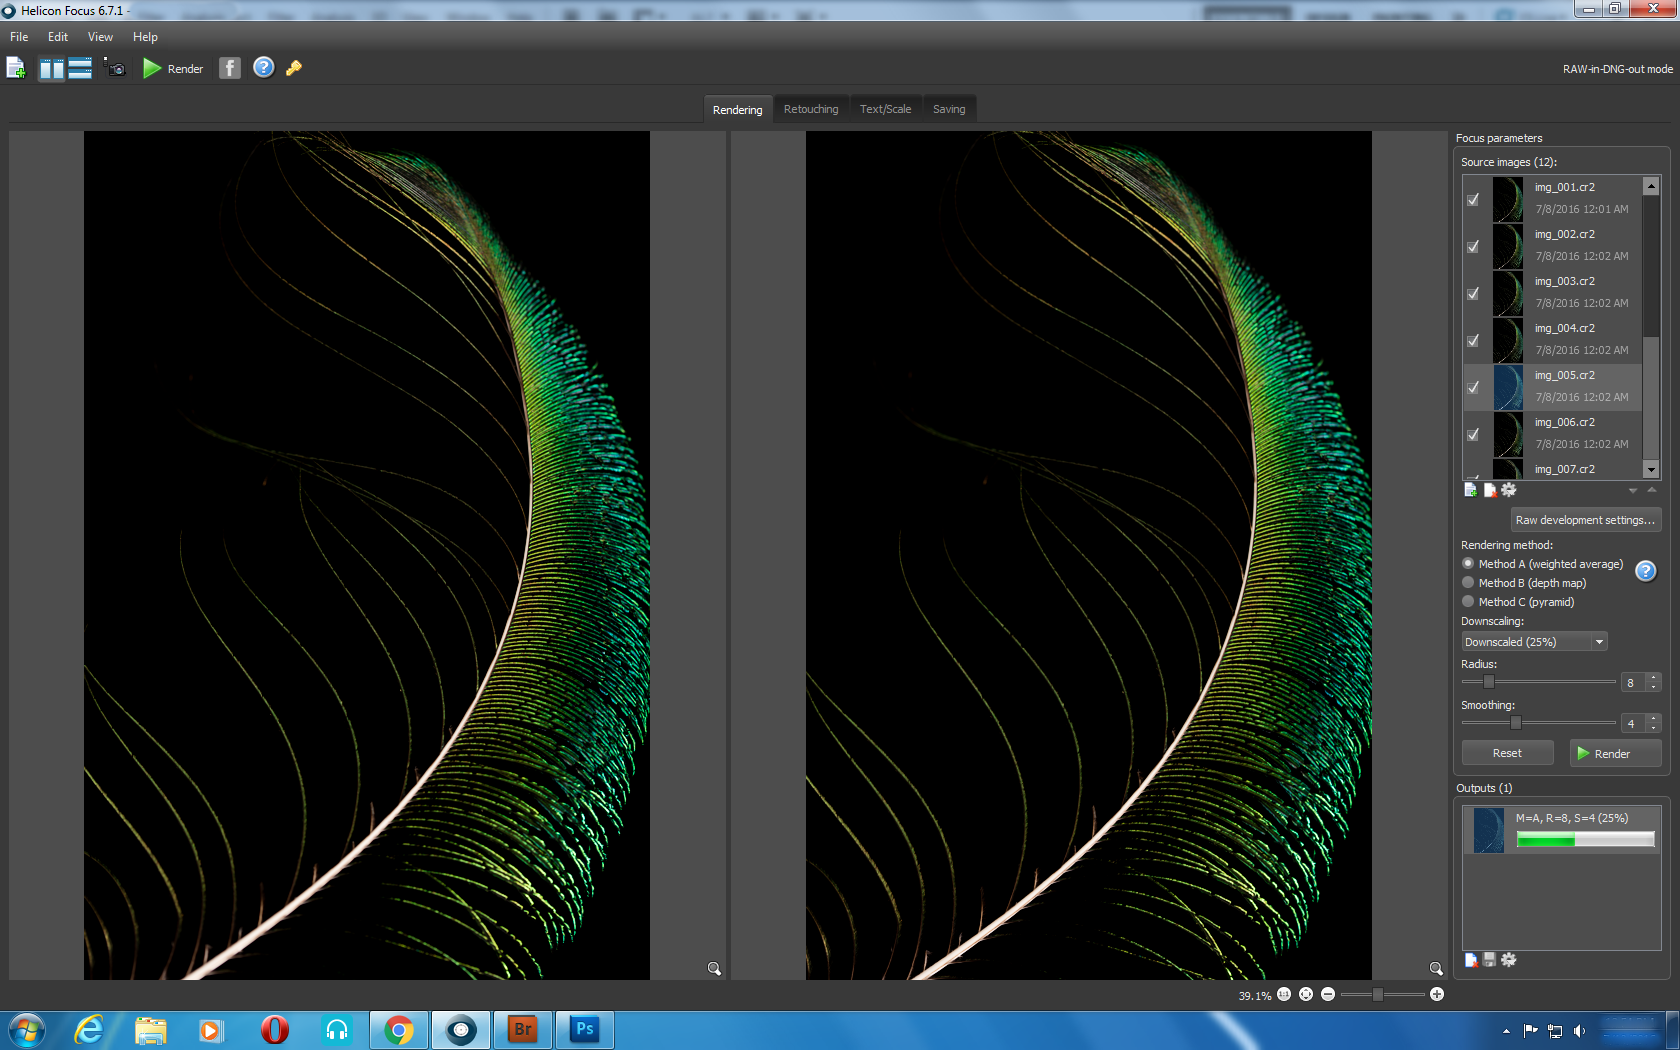
It’s really easy to get your first stack once the images are loaded. Choose a render method for Focus to work with (you have three choices: A, B, or C, each with their own advantages), and press Render. I have found a new respect for method A, the weighted average. Helicon recommends different methods for different types of images. You get to choose which one works best (i.e. which one will make you work the least). When I first used Helicon Focus years ago, there was a sizable difference between the rendition of the Pyramidal (method C) and the others. Now, things have improved in that way also. I’ll include jpg reductions of the output images for you to compare for yourselves.


While I saved these images as png files for the web, Helicon Focus can save the output files in the Adobe DNG format, allowing you to open them in Lightroom or Photoshop using Adobe Camera Raw. That makes it pretty powerful as it gives the photographer yet another layer of opportunity for improvement. I typically don’t do huge amounts of modification to images, so being able to make adjustments to the raw file is another bonus.
You might find that some areas need retouched, as in, they are not in focus in the final image. I don’t think Helicon had the retouching capability when I first used it, but now it does, and it’s very handy. Once in the retouching screen, hover the mouse over the area you find needs retouching. A file name appears, telling you which image in the stack that part comes from.
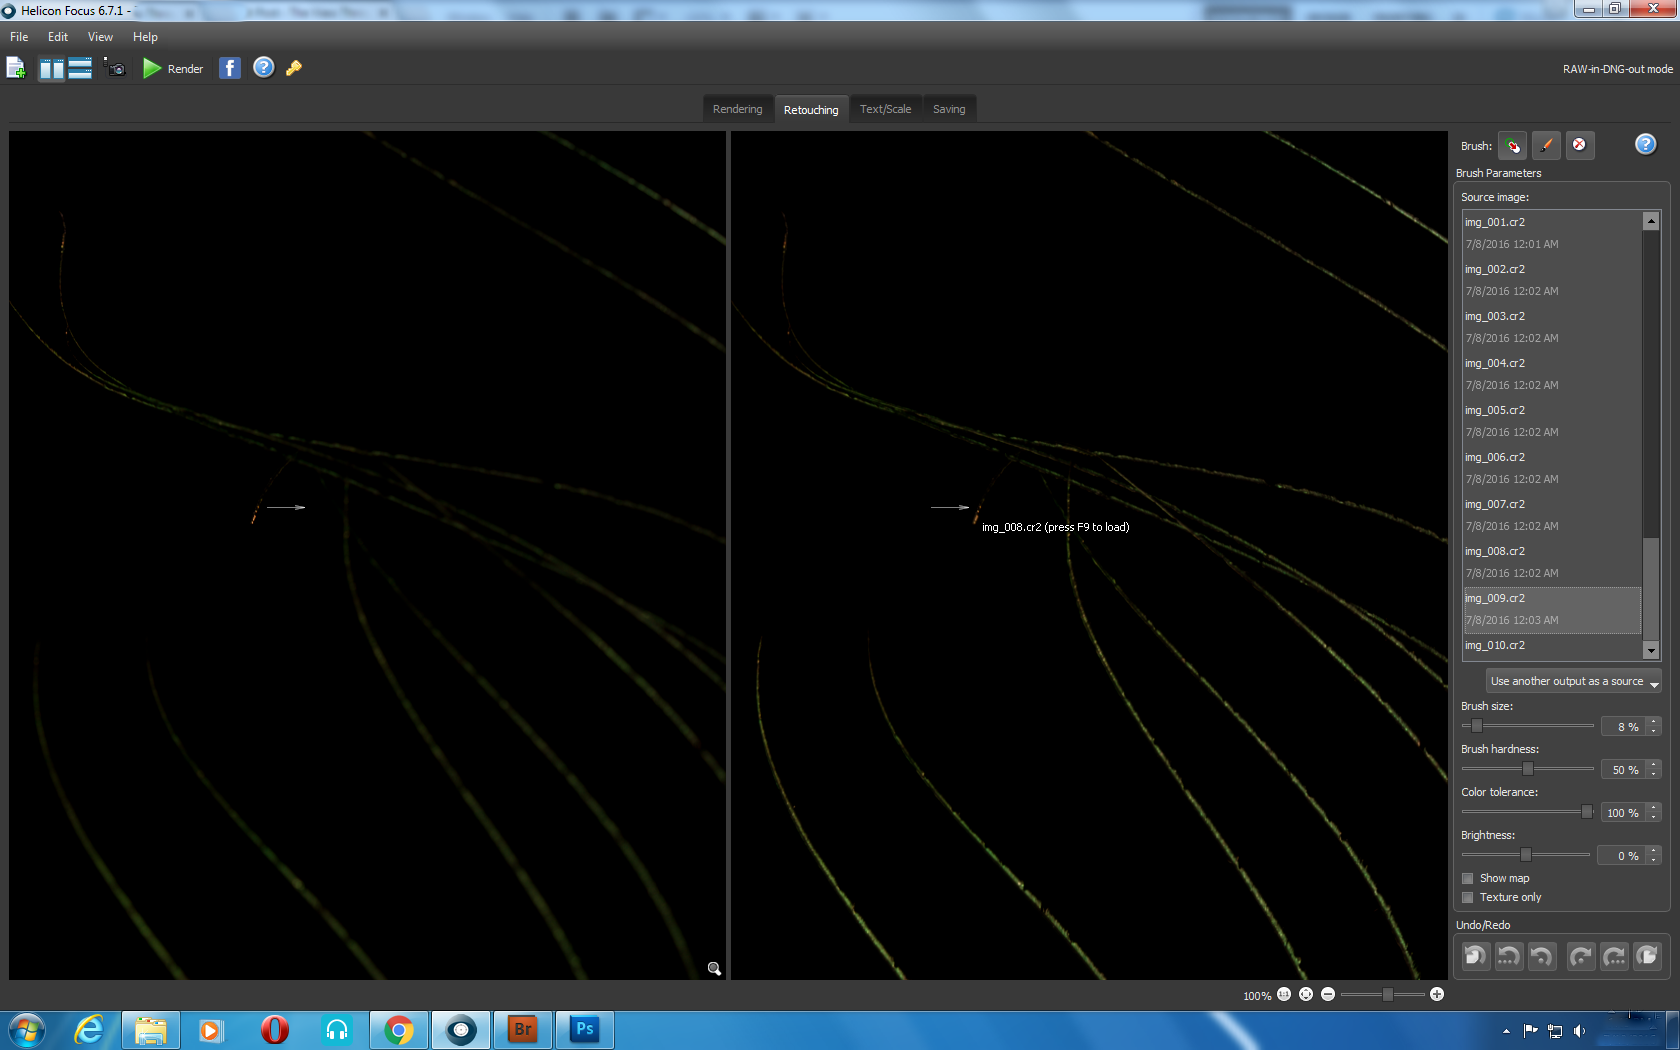
I find that, generally, using that information as a guide, the image I’m looking for is usually one up or one down from the image Focus chose. For example, in the image above, Helicon used img008. I would check the images img007 and img009 to see if they are a better fit. Focus allows you to choose which image you replace the part with. Simply click on it in the stack. It loads it into the left hand panel and you paint it in over in the right hand panel. Brush adjustments are in the lower right corner, as are the undo choices.
It has been several years since I first tried Helicon Focus, and it has improved very much since that time. I plan on making much more use of it in the future. Down below is a short video tutorial I made for Helicon Remote and Helicon Focus. When combined, the two make a formidable team.